Bánh Mì — Vietnamese Baguette Made for Everyone
In Saigon in the 1950s, a baker named Nguyễn Văn Hoá looked at the French baguette his city had inherited from colonial rule and saw something most people walked past: a loaf priced for the people who already had enough. He decided to make a baguette for everyone else. He shortened it. He thinned the crust until it crackled like glass. He hollowed out the interior so half a loaf could hold a meal — meat, pickles, herbs — and feed a family. He used rice flour where he could, because rice was cheap and Vietnamese.
He didn’t invent fusion. He invented dignity. The bánh mì exists because someone decided that good bread was not the property of the well-off.
That story is why I keep coming back to this loaf. I believe food should be accessible. There is always room for those of us who can cook to think about how to feed the people who cannot afford to. A loaf of bánh mì costs cents to make and lasts a household a day. That is not a side detail of the recipe. That is the recipe.
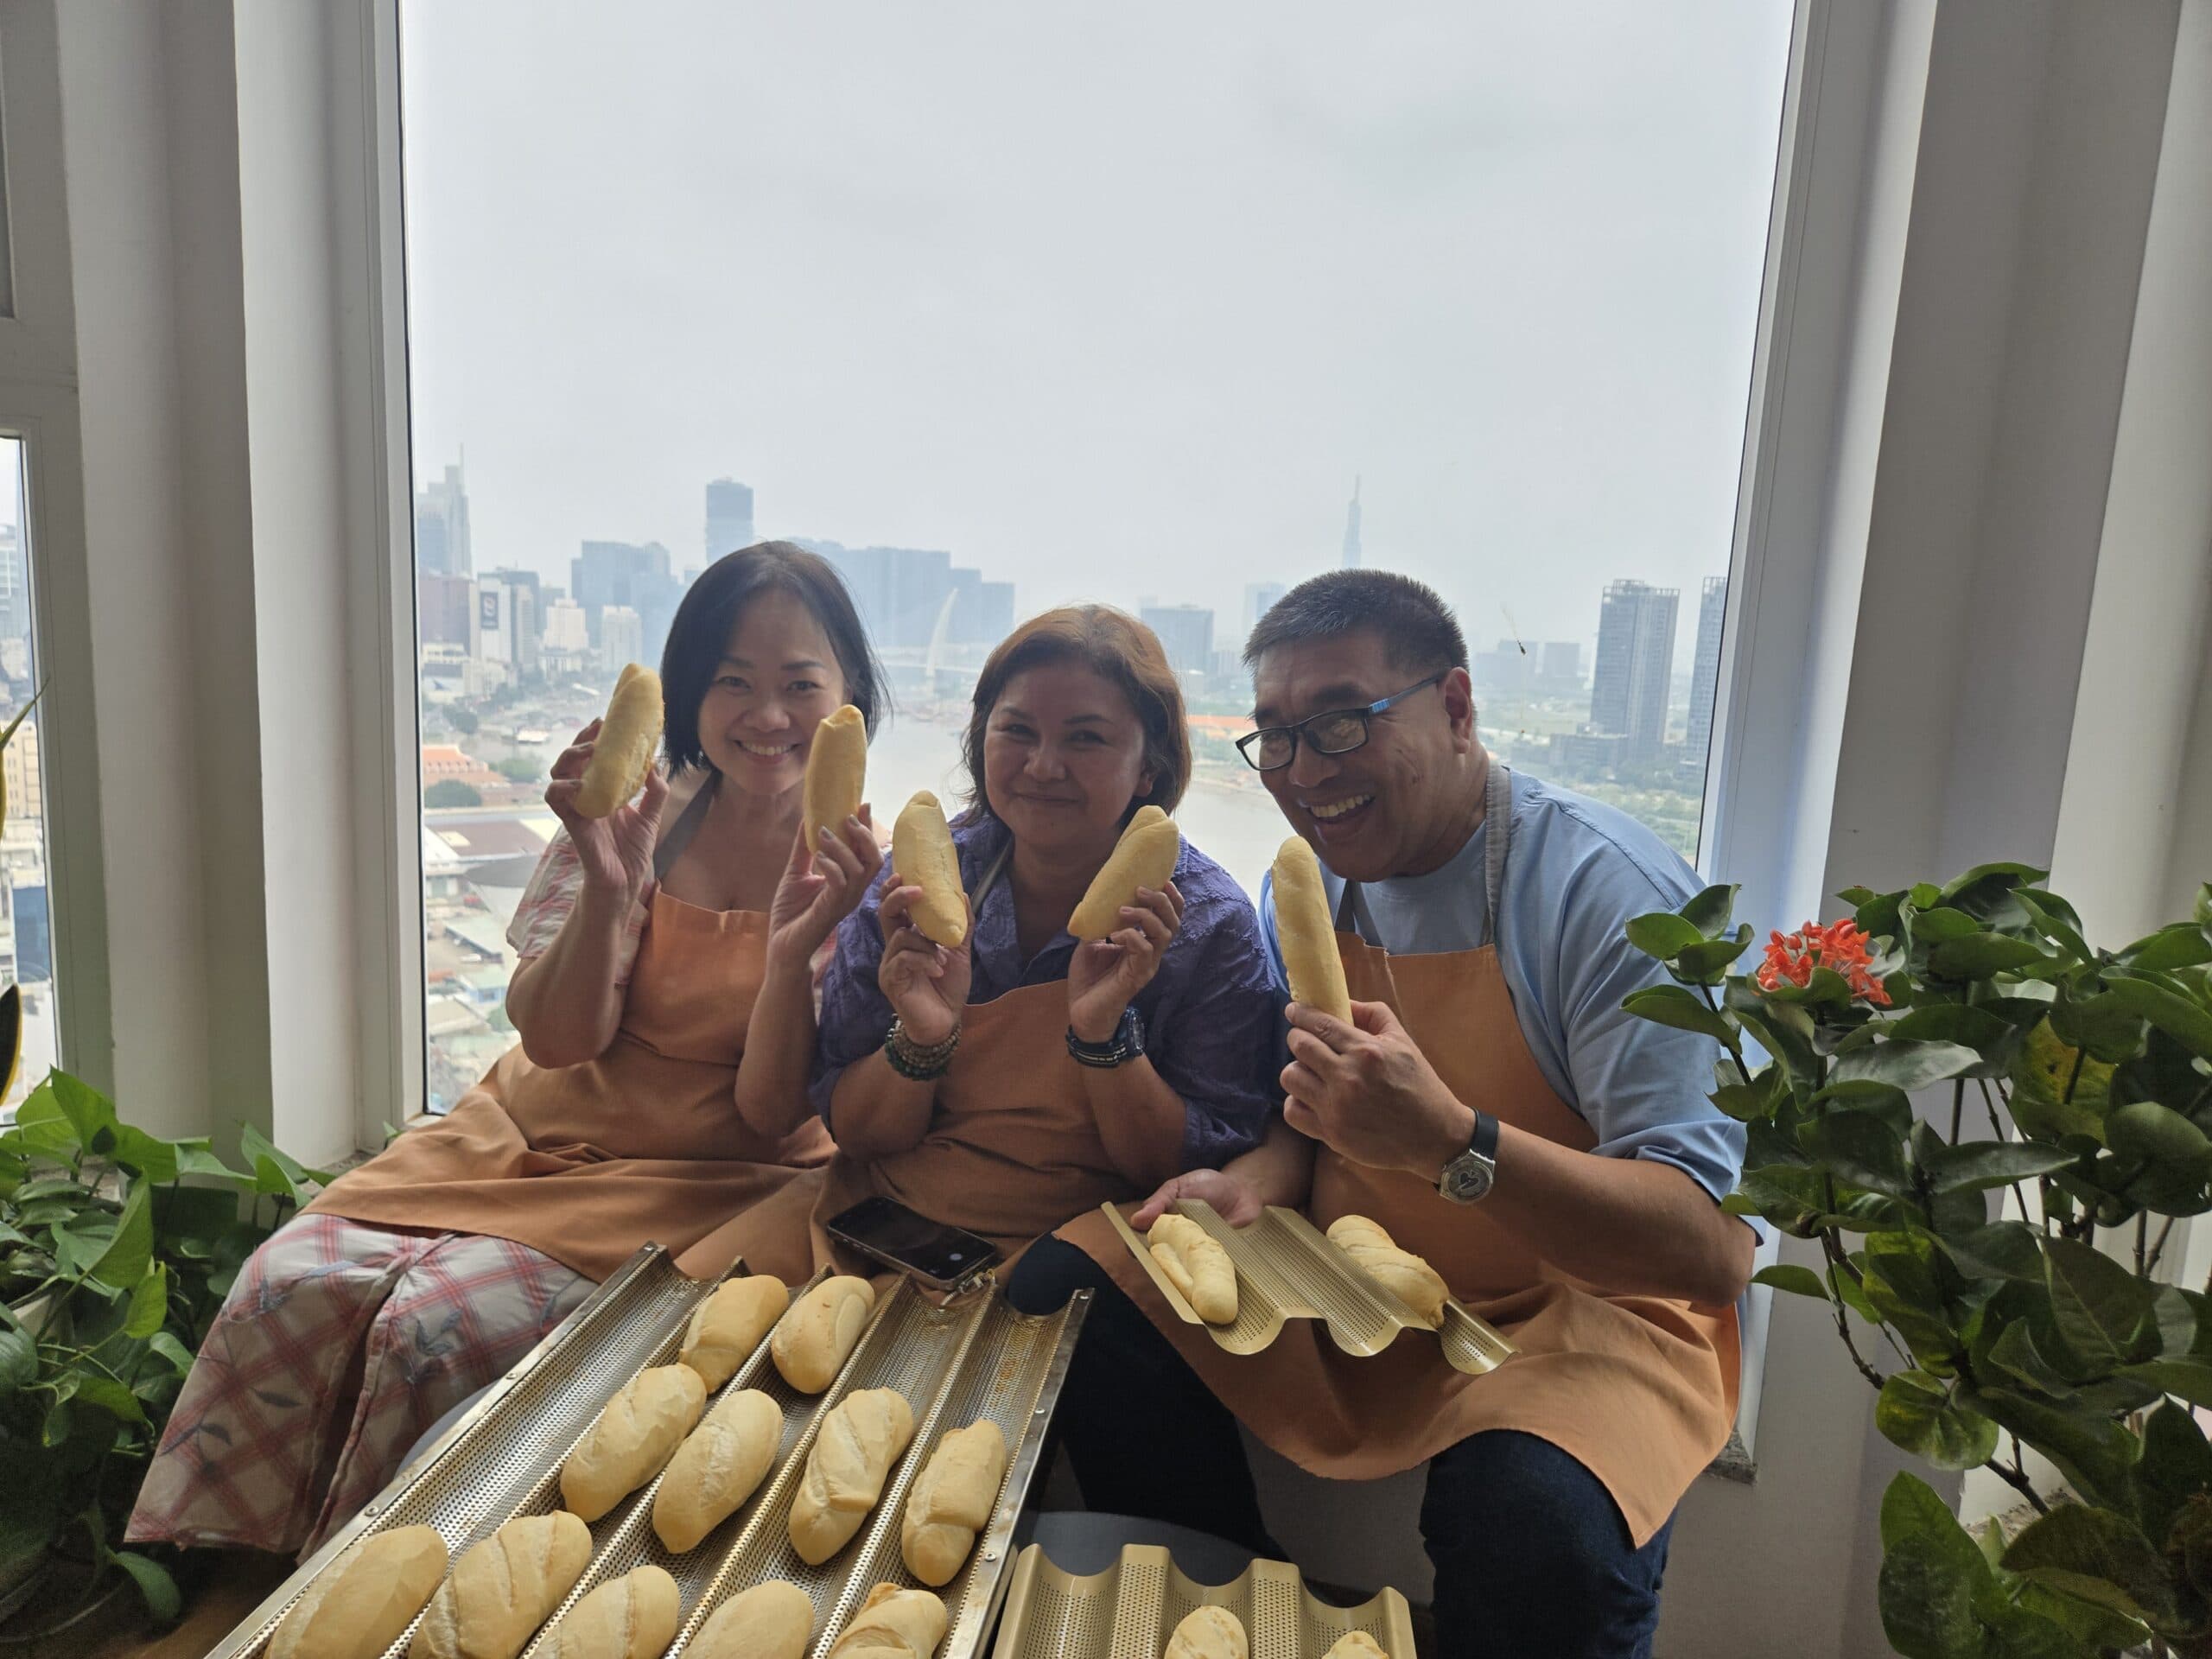
I learned this version in Ho Chi Minh City with Lua’s Kitchen — Ms Le Thi Lua, who teaches bánh mì baking out of her apartment with a view across to Bitexco Tower. Her recipe is precise, technical, and quietly generous. What follows is my adaptation, simplified for a home oven and substituting fresh lime juice for the ascorbic acid she uses to strengthen the dough. The structure of her method is here; the soul of her teaching is hers, and I urge you to take her class if you ever find yourself in Saigon.
A home baker can get respectably close to the real thing. You will not produce what comes out of a Vietnamese bakery oven — those ovens inject steam and run hotter than a domestic oven safely can — but you will produce a bánh mì your family will eat in a single sitting, and you will understand why this bread is loved.
What makes a bánh mì different
A bánh mì is not a small French baguette. The interior is structurally different — somewhere between 50% and 70% air. The crust is thinner. The whole loaf is built around the assumption that something else is going to fill it: pork belly, pâté, pickled daikon and carrot, coriander, chilli, a slick of mayonnaise. The bread is the vehicle, not the meal. That changes every parameter — the hydration, the proof, the score.
The two things I learned from Lua’s class that I would not have figured out alone:
A poolish pre-ferment is non-negotiable. A wet starter, fermented overnight, gives you flavour and the airiness you need. Skip it and you get a dense small baguette, not a bánh mì.
Steam is the entire game. The crackling crust comes from the loaf hitting a humid oven for the first eight minutes. Without steam you get bread; with steam you get bánh mì.
The rest is timing and feel.
A note on equipment
You can do this with a stand mixer and a regular home oven. A perforated bánh mì pan helps with even browning underneath but is not essential — a parchment-lined baking tray with the bottoms lightly oiled works. The one piece of equipment that genuinely matters is something heat-retaining at the bottom of the oven (a cast iron pan, an empty baking tray, a pizza stone, even a tray of clean stones) so you have somewhere to pour hot water for steam.

A note on the timing
Plan for two days. The poolish needs five to ten hours of fermentation, so most people make it the night before. Day two is the actual baking — about three hours from start to finish, mostly waiting.
What to put inside
That is a whole other essay, and I will write it. For now: any bánh mì filling will work. The classic is pork — grilled or as cold cuts with pâté — with pickled daikon and carrot, sliced cucumber, coriander, sliced chilli, and Vietnamese mayonnaise. A vegetarian version with grilled tofu, mushroom pâté and the same pickles is excellent. The bread does not care; it was built to carry what you have.

On Lua
If you are ever in Ho Chi Minh City and you care about bread, find Lua. Her class is held in her own kitchen with the city as a backdrop. She is patient with first-time bakers and meticulous with experienced ones. The recipe she teaches is not in any cookbook I have seen, and there are technique details — how she scores, how she handles dough temperature in tropical heat, how she calibrates the proof to the weather — that are hers to teach in person, not mine to write online. What I have shared here is enough for a home baker. The rest is hers.
You can find her on Instagram at @luaskitchen.cookingclass.
Home-Baked Bánh Mì (Vietnamese Baguette)
A home-baker's adaptation of the classic Vietnamese short baguette, with a thin crackling crust and an airy interior — built to be split and filled. Adapted from Lua's Kitchen, Ho Chi Minh City.
- Prep
- 30 min
- Cook
- 20 min
- Total
- 0 min
- Serves
- 5 loaves
Ingredients
- 50 gbread flour (12–13% protein)
- 50 gwater, room temperature
- 2 ginstant yeast
- All of the poolish from above
- 250 gbread flour
- 110 mlwater (50/50 ice and room-temp in hot weather)
- 25 gwhole egg, beaten
- 2.5 ginstant yeast
- 10 gsugar or honey
- 4 gfine salt
- 15 gneutral oil or softened butter
- 10 mlfresh lime juice
- 150 mlhot water (for steam)
Method
- 01In a glass jar or bowl, stir together the 50 g water and 2 g yeast until the yeast dissolves. Add the 50 g bread flour and stir to a smooth paste. Cover loosely and leave at room temperature for 5 to 10 hours, until tripled in volume, domed on top, and pocked with bubbles. In tropical weather it ferments faster; in a Sydney winter, leave it longer.
- 02In the bowl of a stand mixer, combine the 250 g bread flour, 2.5 g yeast, and 10 g sugar. Whisk briefly to distribute. In a separate jug, stir together the 110 ml water, beaten egg, and lime juice. Pour into the poolish jar and stir until the poolish dissolves into the liquid. Tip the lot into the mixer bowl.
- 03Mix on low for 2 minutes until incorporated. Add the salt. Increase to medium and mix for 5 minutes. Add the oil and continue on medium for 5 to 8 minutes more, until the dough is smooth, elastic, pulls cleanly from the bowl, and passes the windowpane test — a small piece stretched between your fingers should let light through without tearing.
- 04Lightly oil your hands and work surface. Tip the dough out, fold it on itself four to six times, shape into a ball. Return to a lightly oiled bowl, cover with a damp tea towel, and rest at warm room temperature for 30 to 60 minutes, until doubled.
- 05Divide into 5 equal portions of approximately 100 g each. Roll each into a tight ball, mist with water, cover, rest 10–15 minutes. To shape each loaf: gently flatten into an oval, fold the top third down and press the seam, then the bottom third up. Roll the cylinder under your palms from centre outward, tapering into a short baguette about 15 cm long. Place seam-down on a perforated bánh mì pan or parchment-lined tray.
- 06Cover loosely with a tea towel and proof at warm room temperature — ideally 28°C — for 75 to 90 minutes. In a cool kitchen, proof inside a turned-off oven with a bowl of warm water beside the loaves. The loaves are ready when they have grown to roughly 2.5 times their shaped size and feel pillowy.
- 07Twenty minutes before baking, set an oven rack to the middle position and place a heavy cast iron pan or empty baking tray on the lower rack. Preheat to 240°C (465°F).
- 08Hold a sharp blade or bread lame at a low angle — about 30 degrees to the loaf — and make one long shallow slash down the length of each. About 5 mm deep. Mist generously with water, especially into the cuts.
- 09Place the loaf pan on the middle rack and immediately pour the 150 ml of hot water into the heated pan below. Close the door fast to trap the steam. Bake at 230°C with fan on for 8 minutes. Do not open the door.
- 10Open the oven, mist the loaves once more with water, remove the steam pan, and reduce to 190°C (375°F) with fan off. Bake a further 10 to 12 minutes, until the crust is deep golden and crackles when you tap the underside. Rotate the pan halfway through.
- 11Transfer to a wire rack. If you have a fan, point it at the loaves — the crust contracts as it cools and fine cracks should appear within 5 to 10 minutes. This is the sound of a properly steamed bánh mì.
<p>Best within 4 hours of baking. After that, refresh in a hot oven for 3 minutes.</p> <p>For a thinner crust, mist the loaves once more during baking.</p> <p>For a darker crust, shorten the final proof and extend the second bake.</p> <p>Lime juice replaces ascorbic acid as a gluten strengthener. Don't exceed 10 ml — too much acidity inhibits the yeast.</p> <p>Salt is non-negotiable. Without it, the loaf is pale and rises wildly. Stick to the weight.</p> <p>Adapted from a class with Lua's Kitchen in Ho Chi Minh City: https://www.instagram.com/luaskitchen.cookingclass/</p>